

Step 1
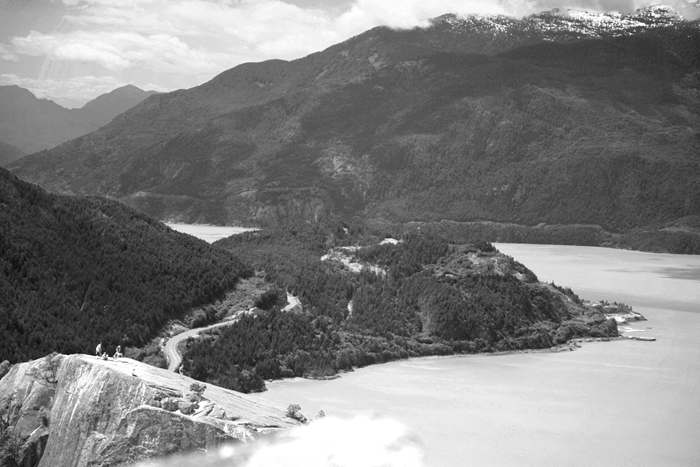
Open your landscape photo into Photoshop. There should be a decent amount of haze like shown in this picture. Because this technique uses mostly the red channel, you’ll need to use a picture with minimal compression (high JPEG compression can pixelate your red channel).
Step 2
Create a new Channel Mixer adjustment layer by going to Layer > New Adjustment Layer > Channel Mixer. Checkmark the Monochrome option then set your reds to +200%, greens to 100%, and blues to –200%. This will create a black and white layer that uses the reds in your channel.
The reason we have the reds set to 200% and blues to –200% is because the red channel has the least haze while the blue channel has the most. After apply the settings, you’ll immediately see more details in the landscape with all of the haze removed. It already looks great as a black & white image. If you want to keep it color, continue with the next steps.
Step 3
To keep the color, change the blending mode of your Channel Mixer adjustment layer to Luminance. This blending mode makes your layer only affect the tone and not the color. The image below shows a somewhat color-restored version.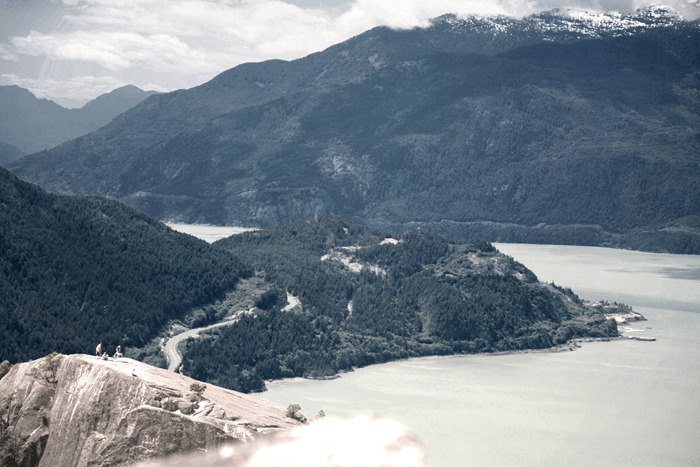 \
\Step 4
Because haze blocks out a lot of color, it’s hard to restore the original colors. Most landscape photos also would look fake without the haze. So instead of restoring the colors (which might not even exist in your image data), we’ll reduce the opacity to 50% or lower; mine is reduced to 30%. Keep in mind, we’re trying to reveal details – not remove haze completely. Here’s our image with the layer opacity reduced.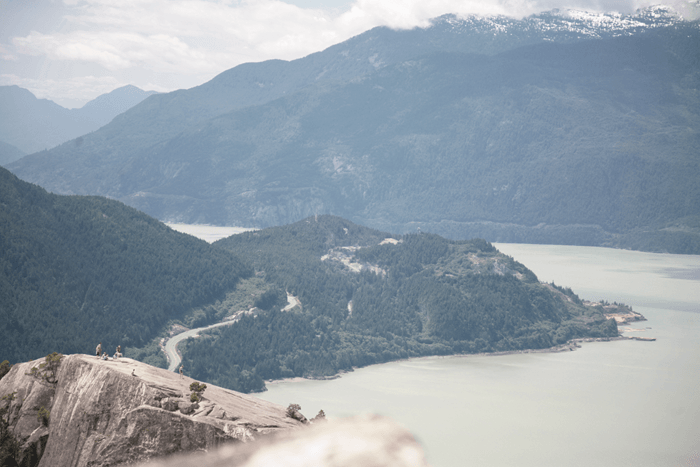
Step 5
Now we want to bring back up the color with the Vibrance adjustment layer. Add a Vibrance adjustment layer (Layer > New Adjustment Layer > Vibrance). Increase the vibrance or saturation and see which one looks better. For my image, increasing the saturation by +50 seems to look the best. This may differ depending on your photo.
Step 6
Everything looks great and the only thing left to do is to add a layer mask and mask out the foreground. Start by adding the two adjustment layers into a group. You can do this by selecting the two layers (Hold Ctrl/Cmd to select multiple layers) then pressing Ctrl/Cmd+G or going to Layer > Group Layers. Once you have the Group created, make sure that it is selected then go to Layer > Layer Mask > Reveal All. Use the Brush tool (B) and paint with a soft-edge black brush around the foreground and anywhere else you want to hide the effect from. Pay careful attention to the reds in the image as this retouching technique tends to dull reds.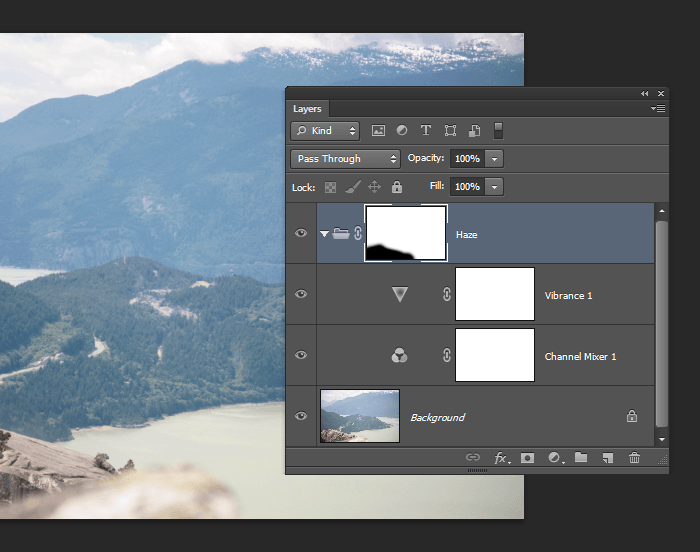
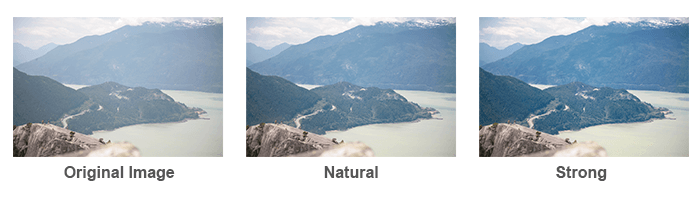
Final Results
Roll your mouse over the images below to see the before and after.
Natural
Strong
No comments:
Post a Comment