Preview of Final Results
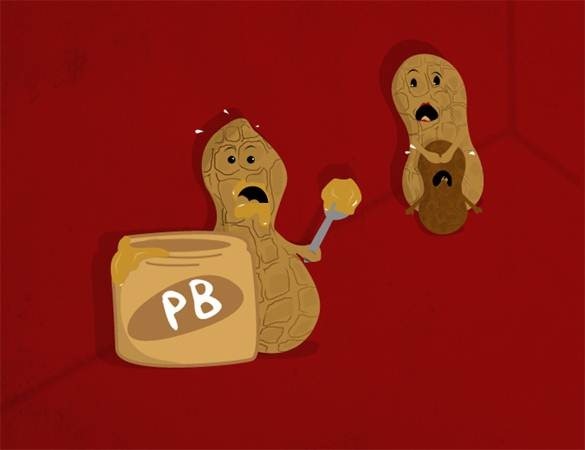
Download the PSD
Comic Illustration.zip | 15.36 MBDownload from Website
Comic Illustration Photoshop Tutorial
Tutorial Resources
· Texture – TofuriousStep 1
First, I started off drawing my illustration on paper and scanned it into my computer. Open up Photoshop and create a new document. File>New. The size of my document is 3900px x 3000px with a resolution of 300. Just in case I want to use it later in another project.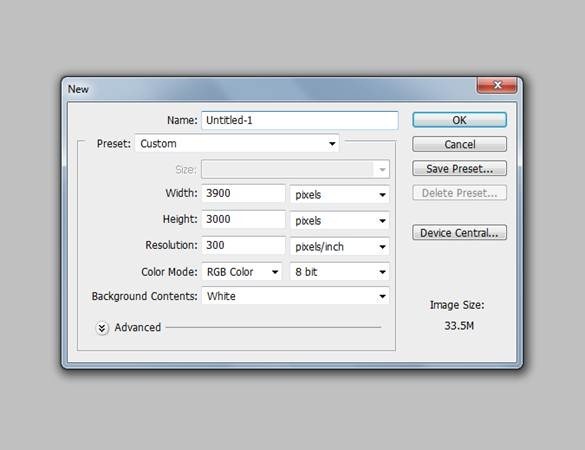
Step 2
Fill the background (paint bucket tool) with any color you like, for this tutorial I will be using a brownish/red color #9d1313.
Step 3
Apply the texture from your Resources. Open the texture up in Photoshop and Drag and Drop into your image. Then change the layer style to Linear Burn with an Opacity of 47%.
Step 4
Now we will create some background lines to help us with the placement of the peanuts. Create a new layer below your texture layer. Before grabbing your pen tool change your paint brush tool to these settings.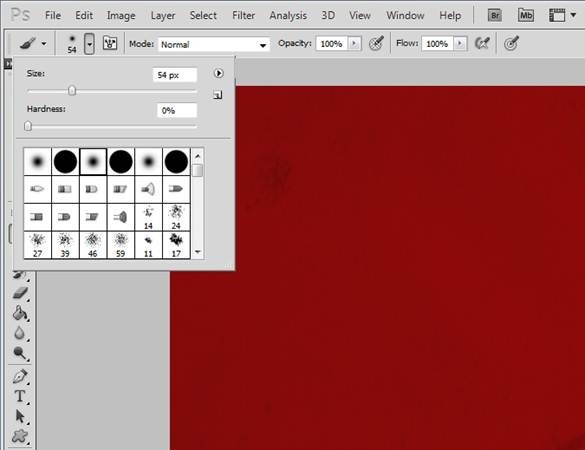
Step 5
Take your pen tool and create the path. Make sure your Foreground and Background colors are set to black and white. Right click the path and select Stroke Path. Make sure the ‘Tool’ is set to brush.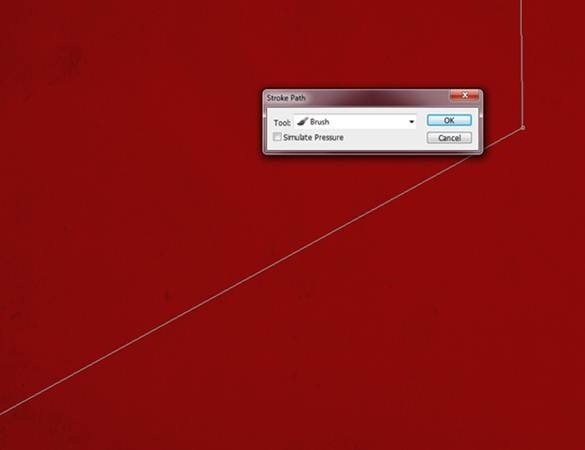

Step 6
Repeat the last steps to create the other path.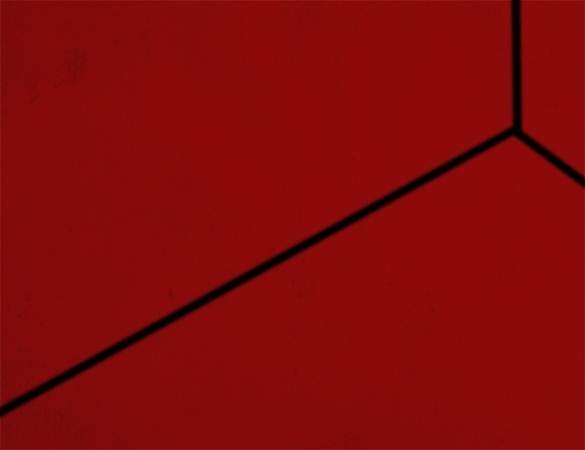
Step 7
Change the Opacity of this line layer to 13%.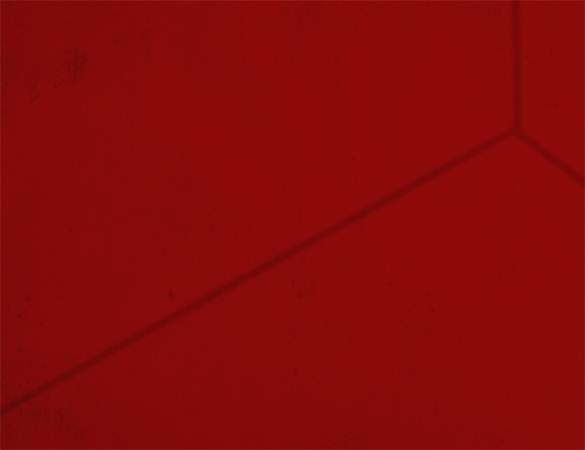
Step 8
Now we will start with the peanut jar. Note: it is always a good idea to place your layers into their own folders. Ex. background, jar, peanut etc. Create a new layer and name it jar (place this in a folder). Use your pen tool and create the shape of a jar.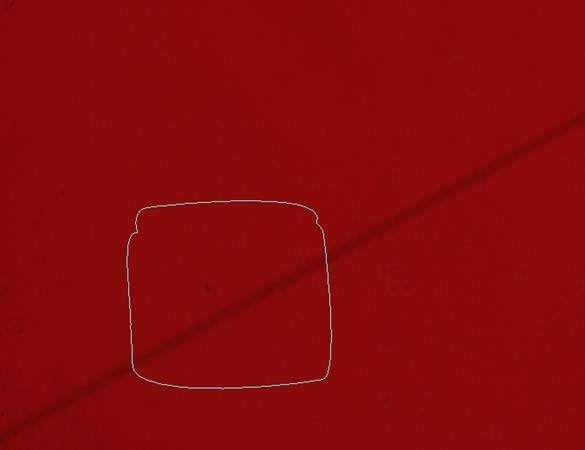
Step 9
Right click the path and select ‘Make Selection’. Fill the selection with any color, we will be changing it in the next step.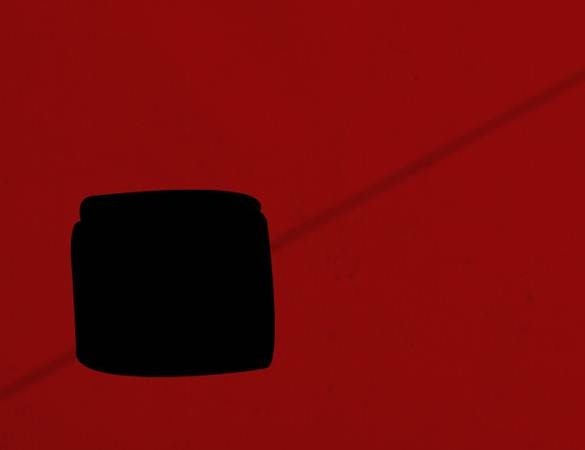
Step 10
Apply these layer styles to this layer. Starting with Color Overlay. To bring up the Layer Styles Dialog box just double click the jar layer. The color I’m using is #D6A559 but choose whatever color suits your image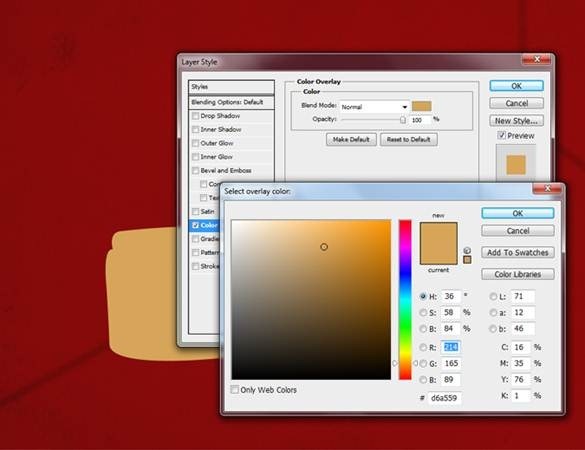
Stroke: #A87540
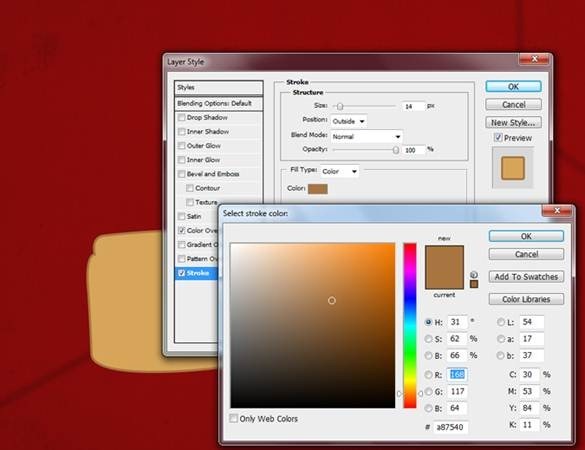
Step 11
Now we will create the label. Create a new layer and grab your pen tool and start making your label.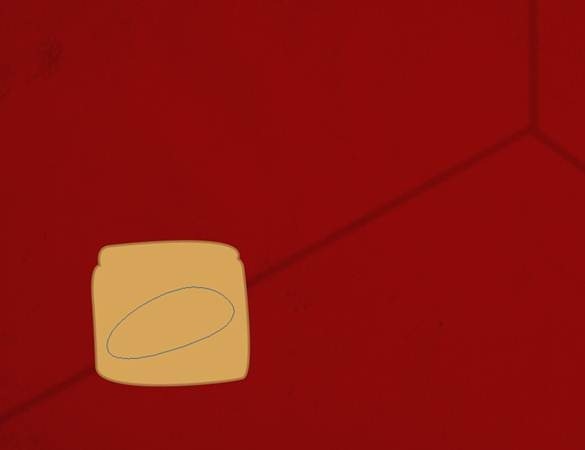
Step 12
Right click the path and select ‘Make Selection’. And fill the selection with #A87540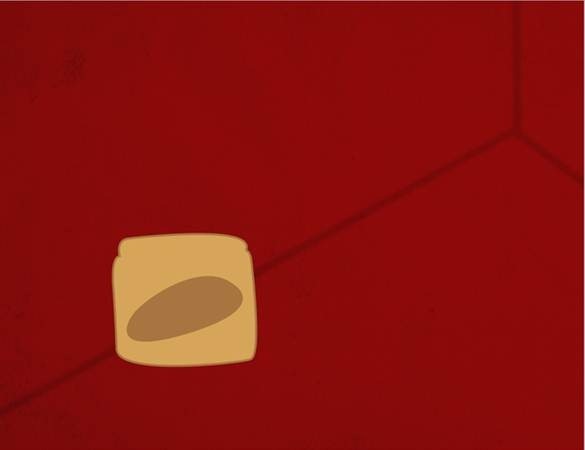
Step 13
Use the pen tool or your favorite font to create the name. For this tutorial I will be using the letters “PB” for peanut butter. I created my letters by using the pen tool and the color #FFFFFF.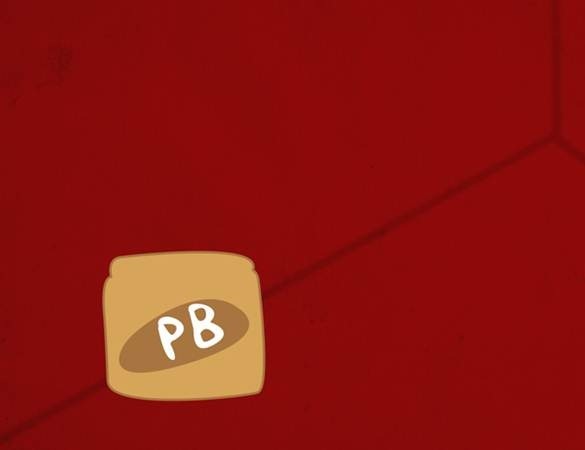
Step 14
Create a new layer and use the Elliptical Marquee tool to create the top of the inside of the jar and fill it with #A87540.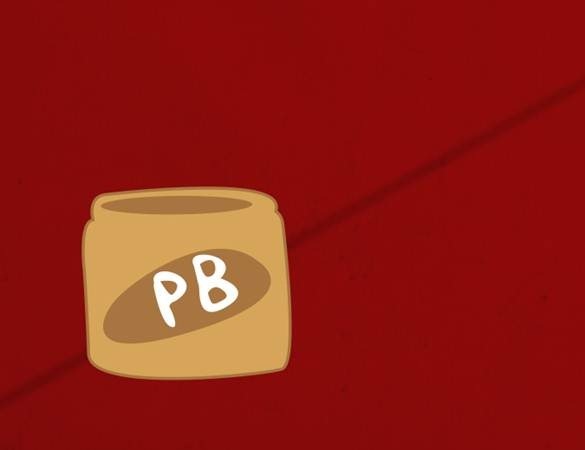
Step 15
Create a new layer and with your pen tool create the shadow. Make a selection of it and fill it with #432305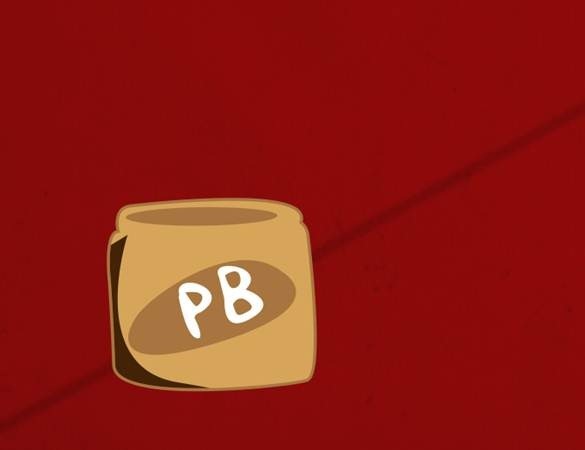
Step 16
Change the Opacity to 18%.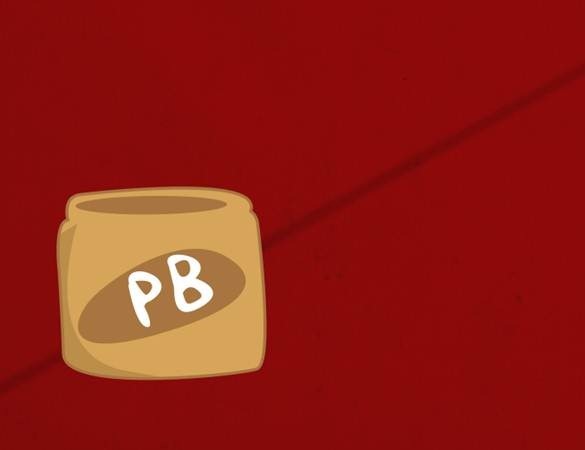
Step 17
Before using your pen tool change the settings of your Paint brush tool to a 17px Hard round brush. Use your pen tool to create the path at the top of the jar. Change the foreground color to #A87540. Create your path and right click the path and select ‘Stroke Path’. Make another line.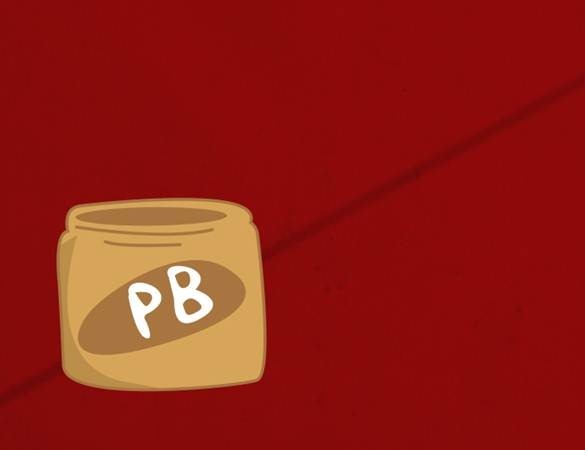
Step 18
Time to create the peanut butter. Create a new layer and make some peanut butter on the outside edge of the jar. Fill the selection with #C6912A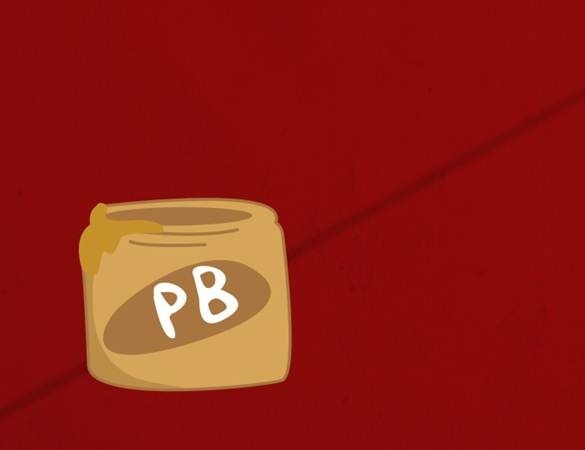


No comments:
Post a Comment